
Sign up and verify your email
Signing up takes about three minutes. Reposha asks only for what it needs to open your account and send your invoice. Everything else, like your logo, comes later.
You will need: your email inbox open in another tab.
Time: about 3 minutes.
At a glance
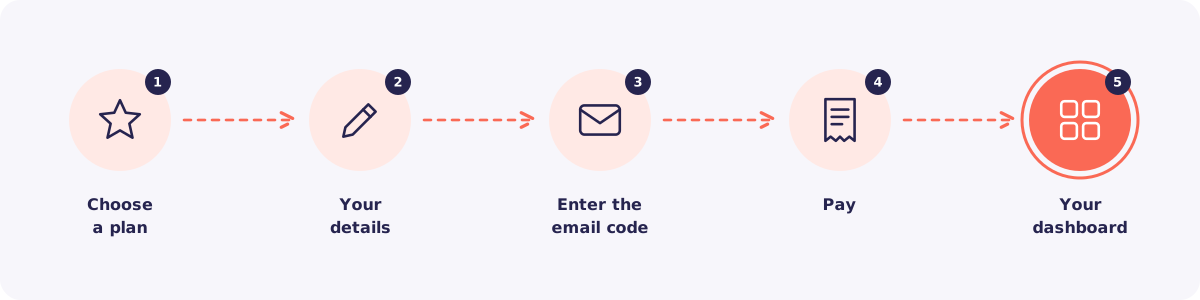
Step 1. Choose a plan
Go to the Pricing page on reposha.com. Pick monthly or annual. Then click Choose plan on the plan that fits your number of Clients.
Step 2. Fill in your details
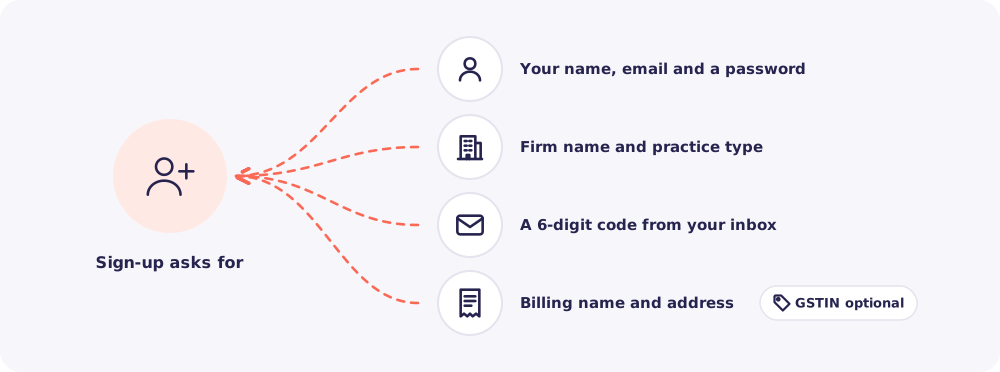
Enter your name, email and a password. Then add your firm name and pick your practice type. Accept the Terms of Use and continue.
Good to know: The person who signs up becomes the Owner. The Owner pays, and creates logins for the rest of the team.
Step 3. Enter the email code
We send a 6-digit code to your email. Type it in to confirm the address is yours.
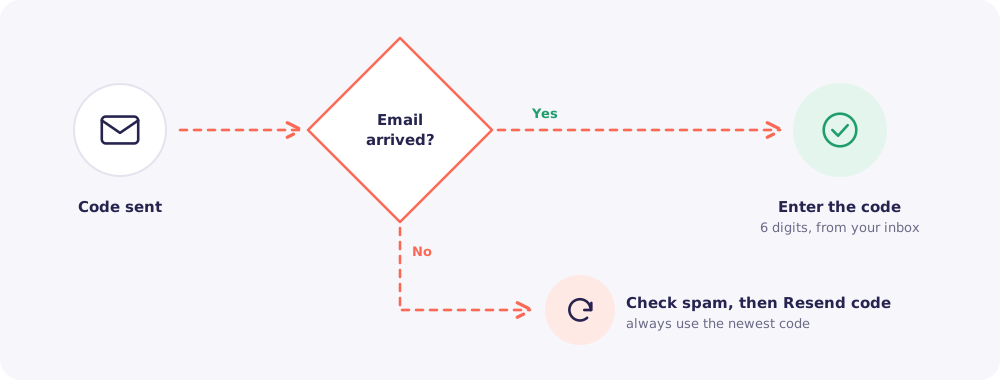
No email? First, check your spam or promotions folder. Then click Get a new code. If the email is in Spam, move it to your inbox. Always use the newest code.
Step 4. Pay
Check the plan summary. Add your billing name and address. Your GSTIN is optional. Add it if you want it on your invoice.
Then pay securely. Wait a few seconds on the next screen while the payment is confirmed.
Good to know: Your first payment has a 14-day money-back guarantee.
Step 5. Your dashboard
That's it. You land straight on your dashboard, ready to add your first Client.
Your invoice arrives by email. Your logo and brand colour can be added any time from Settings.
Quick answers
The payment failed. Do I start again? No. Your account is saved. Just retry the payment from the same screen.
Can I change my email later? Write to support@reposha.com from your current email, and we will help.
Do my Team members sign up too? No. Once you're in, you create their logins yourself and share them. See Add a Team member and share their login.