
Create an upload request from a checklist
An upload request tells your Client exactly which documents you need. A checklist fills in that list for you. So you never type "Form 16, PAN, Aadhaar..." again.
You will need: at least one Client added in Reposha.
Time: about 2 minutes.
At a glance
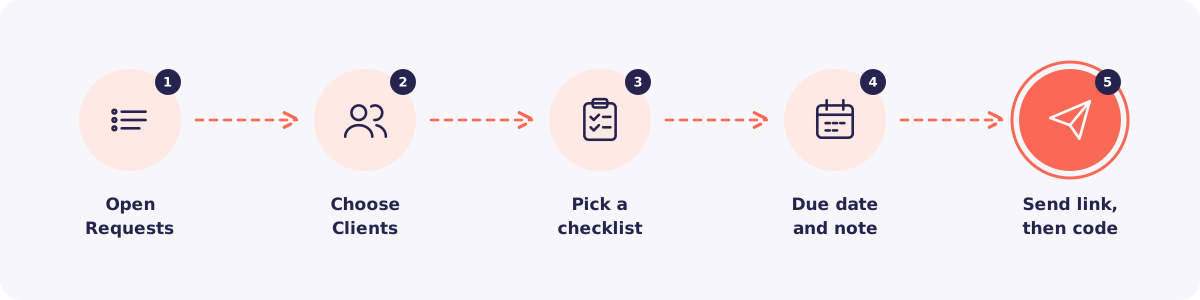
Step 1. Open Requests
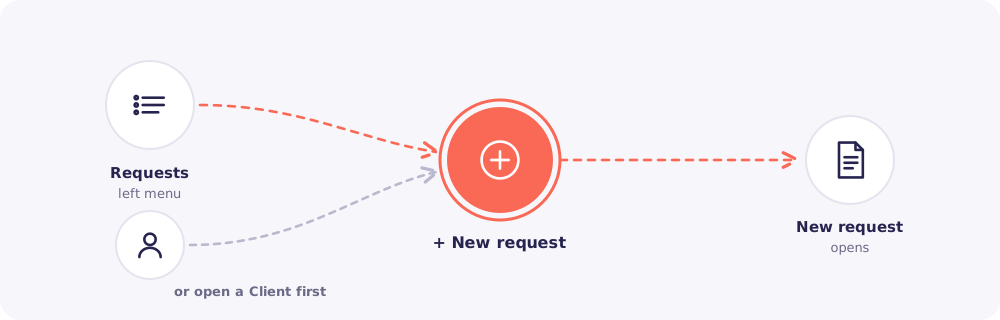
Click Requests in the left menu. Then click + New request.
You can also start from a Client. Open the Client, go to Requests, and click New request. That Client is then picked for you.
Step 2. Choose your Clients
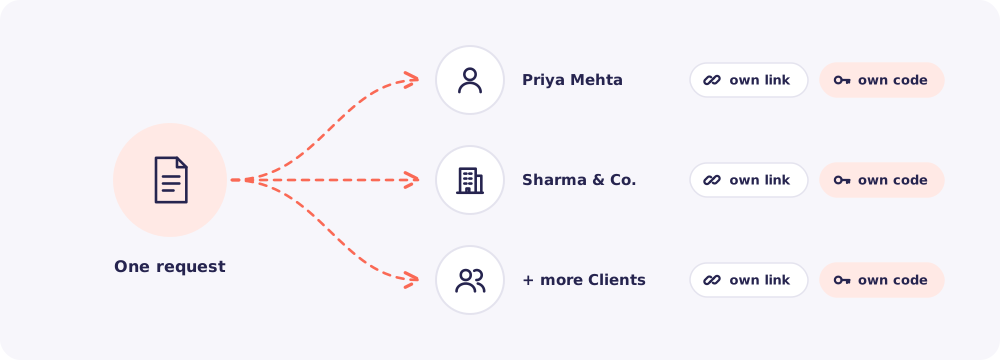
Search for a Client by name. Then tick each Client who needs the same documents.
You can pick one Client or many. Each Client still gets their own private link and their own code.
Click Next when you are done.
Good to know: Staff see only the Clients assigned to them. If a Client is missing from your list, ask your Owner or Manager to assign them to you.
Step 3. Pick a checklist
Choose the checklist that fits the job. For example, ITR (salaried) or GST monthly.
Its items are copied into this request. Next, adjust them:
- Untick an item you don't need this time.
- Click + Add item to ask for something extra.
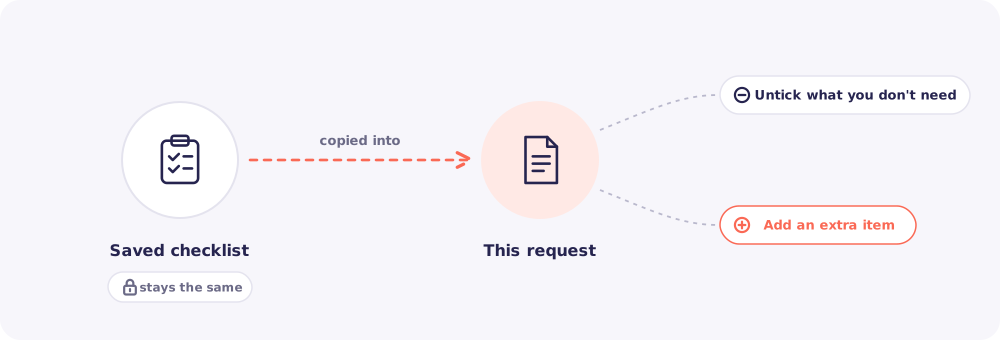
Good to know: Changes here apply to this request only. Your saved checklist stays the same.
Step 4. Set a due date and add a note
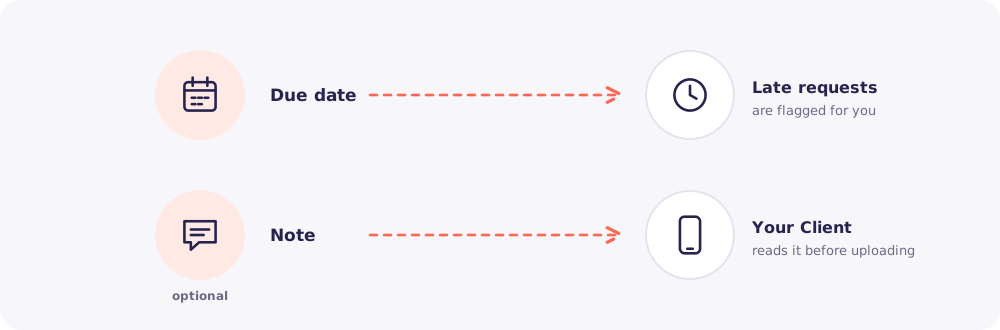
Pick a Due date. Reposha uses it to flag requests that are running late.
Then add a short Note to Client if it helps. For example, "Please upload clear photos." Your Client reads this note on their upload page.
Click Create request.
Step 5. Send the link and the code
You now see Ready to share. It has one row for each Client.
For each Client:
- Click Send link on WhatsApp. WhatsApp opens with the upload link ready. Send it.
- Then click Send code on WhatsApp. Send the 6-digit access code as a second message.
- Back in Reposha, click Mark as sent.
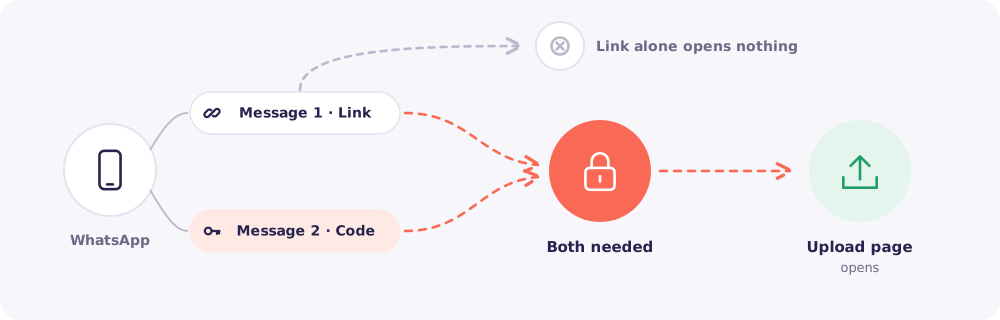
Why two messages? The link alone opens nothing. Your Client needs the code too. So if the link is forwarded by mistake, nobody else can upload into that folder.
>
The code also opens only this request's checklist. So every upload is tied to a request you actually sent, and your Client can't later say they never uploaded it.
That's it. Your request is live.
What happens next
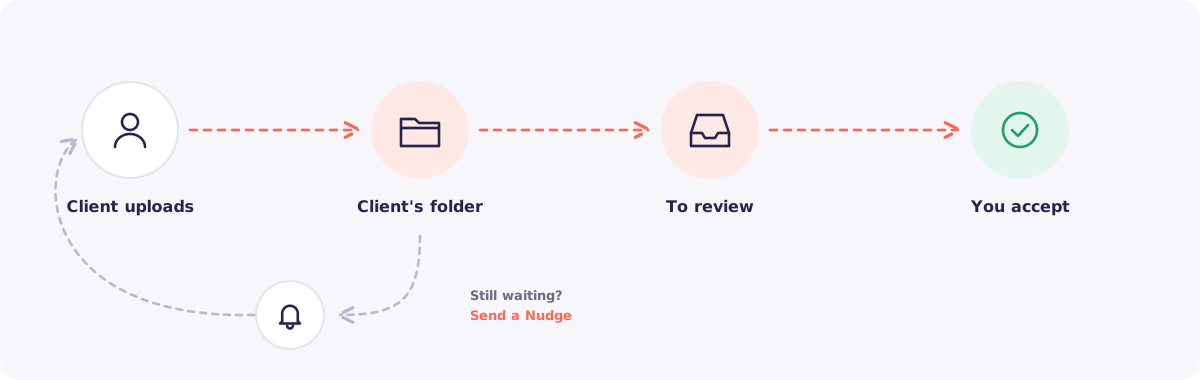
First, your Client opens the link, enters the code and uploads each document against its item.
Then each file goes straight into that Client's folder. It also shows up in To review.
After that, you open the file, check it and accept it.
Still waiting on something? Open the request from Requests and click Nudge. Your Client gets a polite reminder on WhatsApp.
Quick answers
Can I send one request to 50 Clients at once? Yes. Tick them all in Step 2. Reposha creates a separate request, link and code for each one.
My Client lost the code. What now? Open the request. You can see the code there, or issue a new one. See Client lost the code or the link.
Can I make my own checklist? Yes. Owners and Managers can create and edit checklists under Templates.