
Add a Client
A Client is a person or a business whose documents you collect. When you add one, Reposha creates their private folder and their own upload link straight away.
You will need: the Client's name and mobile number.
Time: about a minute per Client.
At a glance
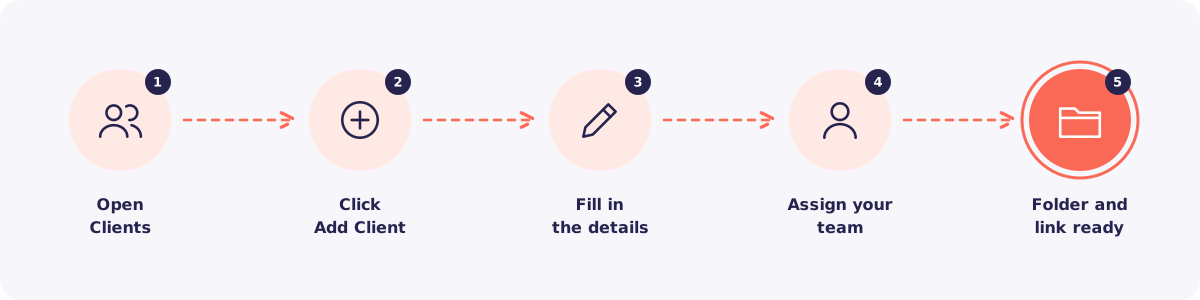
Step 1. Open Clients
Click Clients in the left menu.
Step 2. Click Add Client
Click Add Client. First, choose whether this Client is an individual or a business.
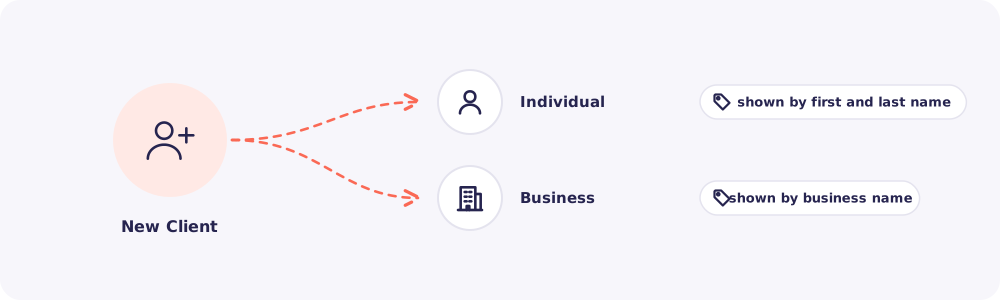
- Individual: enter their first and last name.
- Business: enter the business or firm name. That name is used everywhere in Reposha.
Step 3. Fill in the details
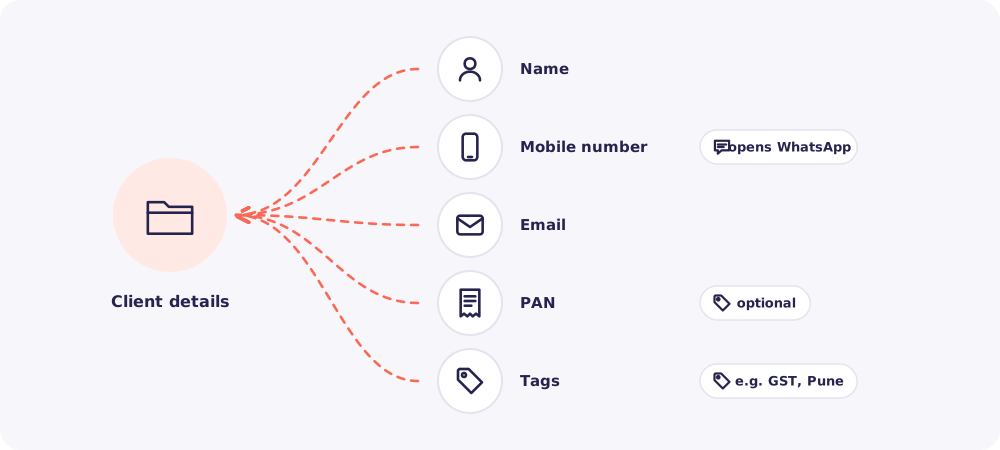
- Mobile number. Reposha uses it to open WhatsApp when you send a link or a Nudge.
- Email. Handy for your records.
- PAN. Optional. It helps you find the Client later.
- Tags. Short labels that group Clients, like "GST", "Audit" or "Pune". Use them to filter your list.
Step 4. Assign your team
Pick the Team members who will work on this Client. Staff can see a Client only after it's assigned to them.
You can assign more than one person. You can also assign yourself.
Step 5. Save
Click to save. The Client's folder and upload link are ready.
Tip: Need documents right away? Tick Start a request now, and you go straight to picking a checklist.
Quick answers
Can Staff add Clients? No. Only the Owner and Managers can add Clients.
I see a message about my plan limit. Your plan covers a set number of Clients. The dashboard shows how many you've used. To add more, the Owner can move to a bigger plan.
I have 200 Clients to add. Don't type them in one by one. Use Import Clients from a spreadsheet.