
Create your own checklist
Every firm has its own way. A checklist saves that way once, so every request your team sends asks for the same documents in the same words.
Who can do this: the Owner and Managers.
Time: about 3 minutes.
At a glance
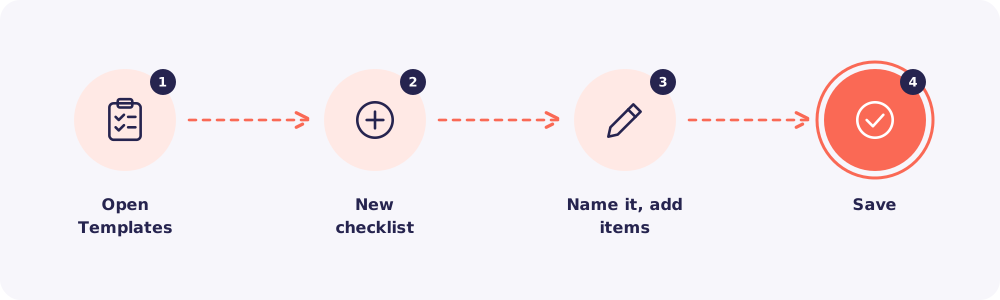
Step 1. Open Templates
Click Templates in the left menu.
Step 2. Start a new checklist
Click to create a new checklist.
Step 3. Name it and add items
Give the checklist a clear name, like "Home loan file" or "Partnership firm ITR". Your team sees this name when they pick a checklist.
Then add each document as an item. Mark each one required or optional.
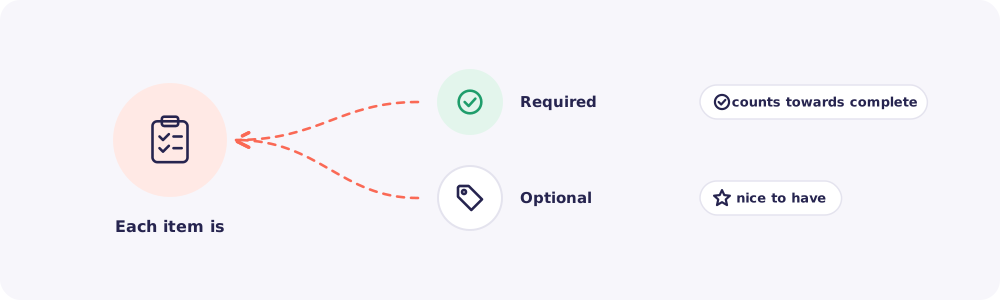
- Required items must arrive before a request counts as complete. Nudges list them when they are missing.
- Optional items are nice to have. They never hold a request back.
Tip: Name items the way your Client talks. "PAN card" and "Aadhaar card (both sides)" beat "ID proof".
Step 4. Save
Save the checklist. It's ready to pick in any new request, by anyone on your team.
Good checklists are short
Clients finish short lists. Long ones stall halfway. Keep to what you truly need for that job, and make the rest optional.